Photos By Lexie Goldsmith
 ats are known as being clean animals. But when they are self-grooming, what are they actually doing? They are using the barbs of their tongue to move around the oils (sebum) in the coat and remove dead skin and coat.
Unfortunately though, the tongue can only do so much, because it cannot remove much coat or comb the coat properly to prevent matting. It also helps move and spread around allergens, such as Fel-D that causes human allergies, and adds salivary crystals and fecal matter into the coat.


When a boarding client books a long-haired cat that is staying for more than six weeks, it is good to have the option to bathe and maintain the coat so that the client takes home a clean and matt-free cat.
Conditioners are mainly used on show cats or for improving dry coat conditions. Using a normal conditioner can cause clumping of the coat and an unfavourable finish.
For after-bathing or finish products, please remember a cat will lick whatever you place on the coat. For that reason, I recommend to not use after-bathing coat products.

- Diluted shampoo and showerhead. This method gets down deeper into the coat with less need for scrubbing when rinsing. It’s great for thick coats, aggressive cats and conditioning cats to the grooming process. (See procedure below.)
- Bucket rinsing. This is where you use a bucket and a cup for rinsing. It is recommended for first-timers, kittens and those afraid of noises.
- Dilution bottles or squirting water bottles. This is the main technique that I use and it has extremely high success rates, because when a cat is washed this way, it does not hear the water, and generally does not react to the feeling of being wet until it is almost soaked.
- The dry bath. This is the use of pet wipes, waterless shampoo or powder to clean the cat. But remember—what we put on the cat, the cat can lick off!

Here a few things you should do before bathing with the diluted shampoo and showerhead method:
- Have the water diluted and lukewarm.
- Have your shampoo ready. You will need 1-1.5L of diluted shampoo, depending on the cat’s breed, size, coat length and condition.
- Prepare a bathing area that is high so you do not lose that cat, and be sure it is non-slip.
- Have a showerhead that you can place directly on the cat which lessens the noise.
- All towels, drying area, and any handling equipment should be ready and within easy reach.
- Clip the nails first! Always. Double check all nails are clipped including dew claws, as they can catch you with the one that you miss.

- Apply pressure on the cat’s shoulders before starting, with the cat facing away from you.
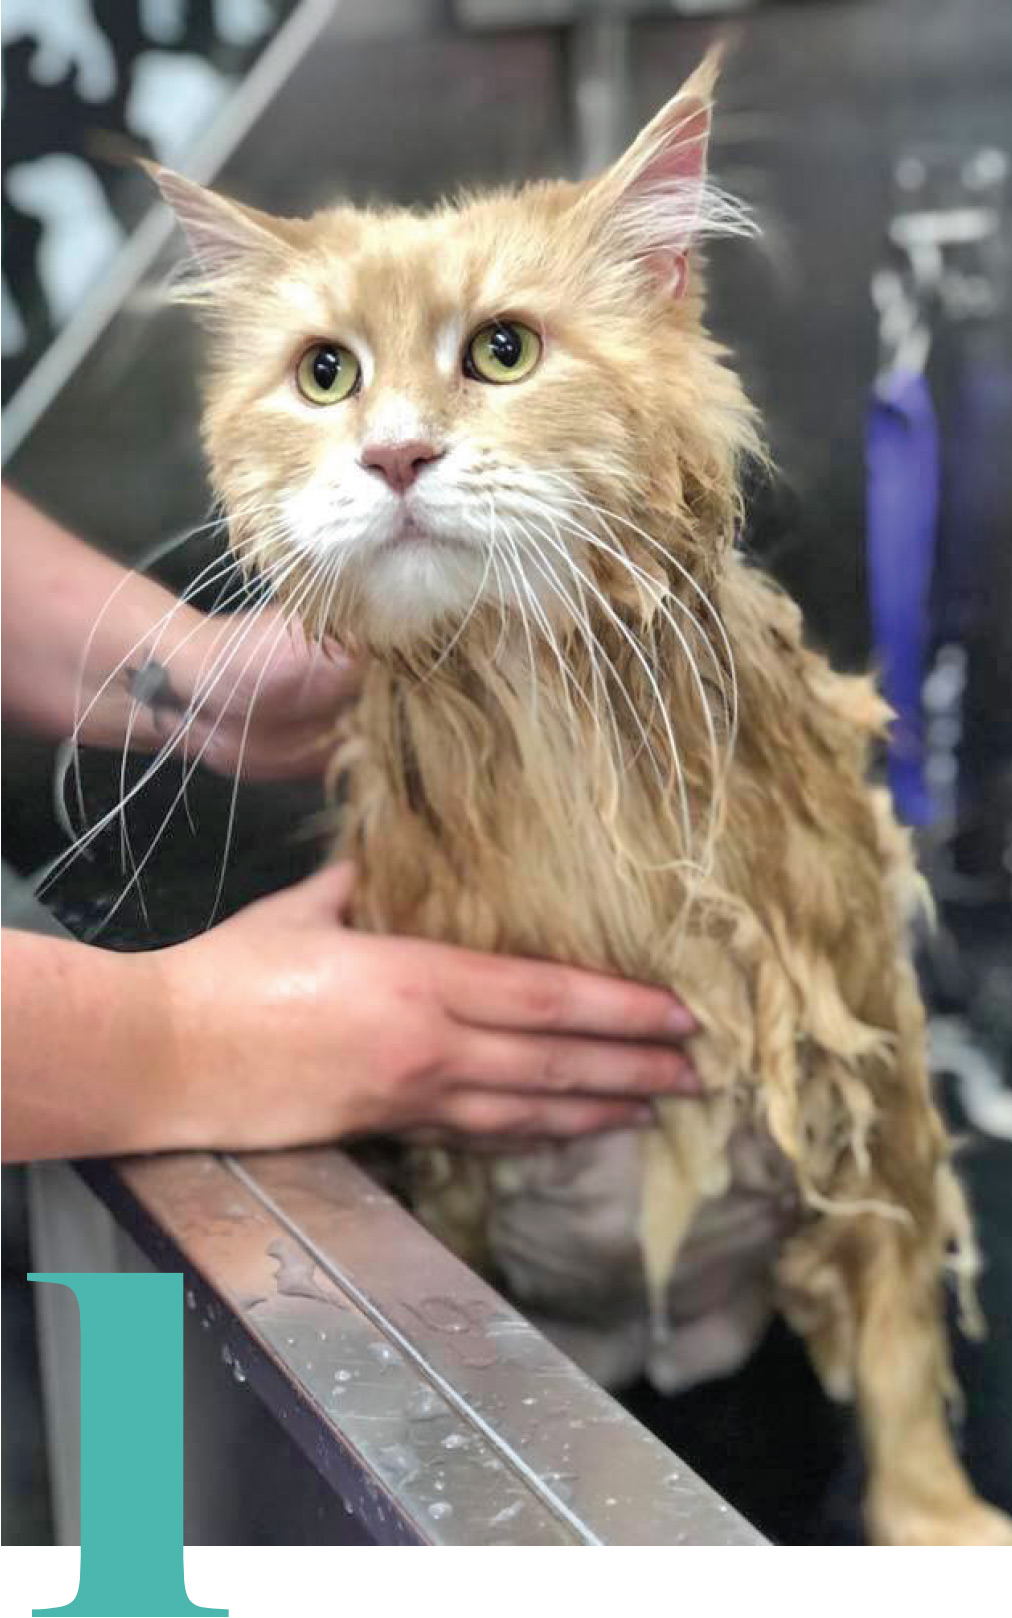
- Begin by wetting the tail, then the back of the neck, and then move to the body and legs.
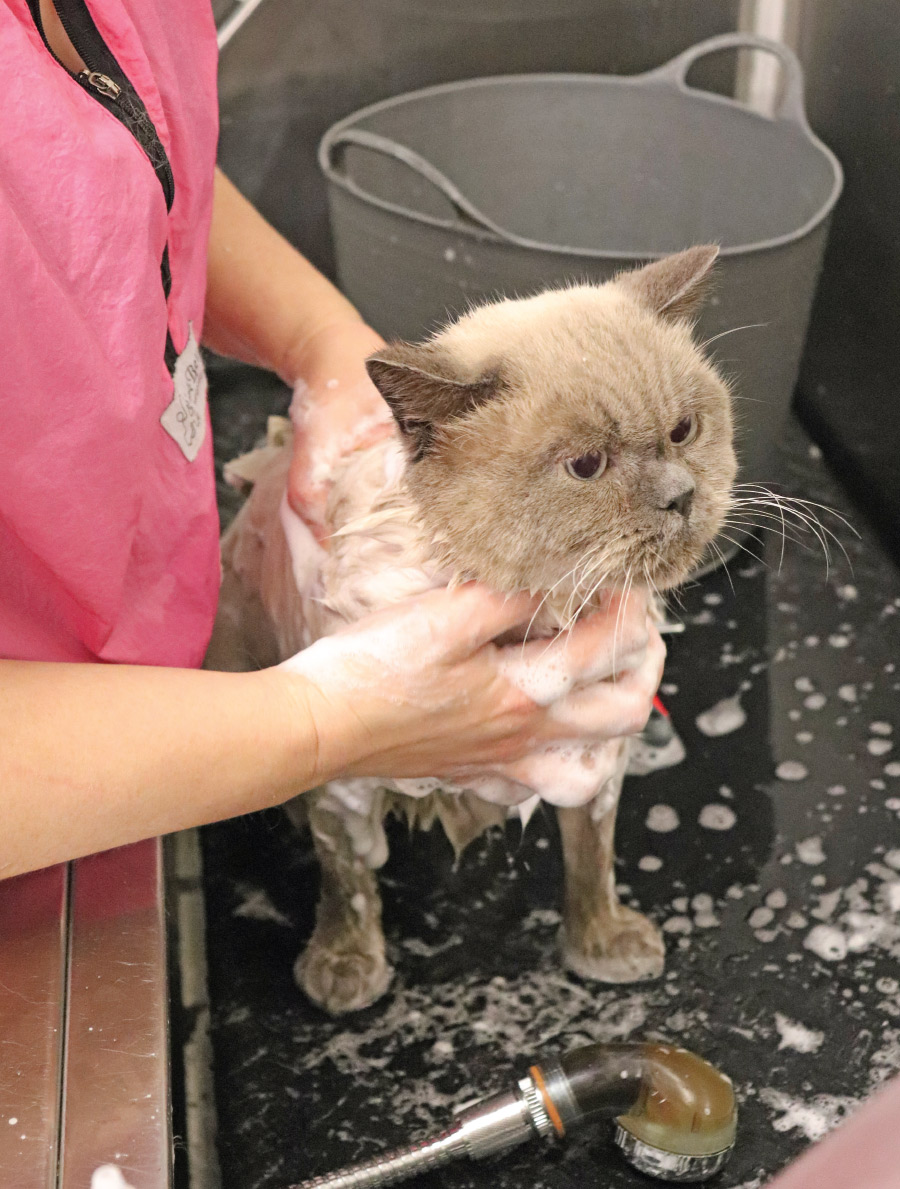
- Start scrubbing the body if the cat is not showing signs of aggression. Leave the nose, eyes and ear area. You may use eye or facial wipes if preferred.
- Once completely wet and scrubbed, use the showerhead to rinse. Place the showerhead against the skin to avoid the shower noise. I usually start at the back of the head, as you can handle the cat at the shoulders if it begins to stress.
- If the cat starts to show signs of stress, make sure that you do not put your hand in front of the cat. Let the cat adjust to being wet.
- Repeat washing the cat with the diluted shampoo, making sure that you focus on the tail, behind the head, the knees and the belly.
- Rinse the cat, again with the showerhead close the skin, making sure the cat is completely rinsed off.
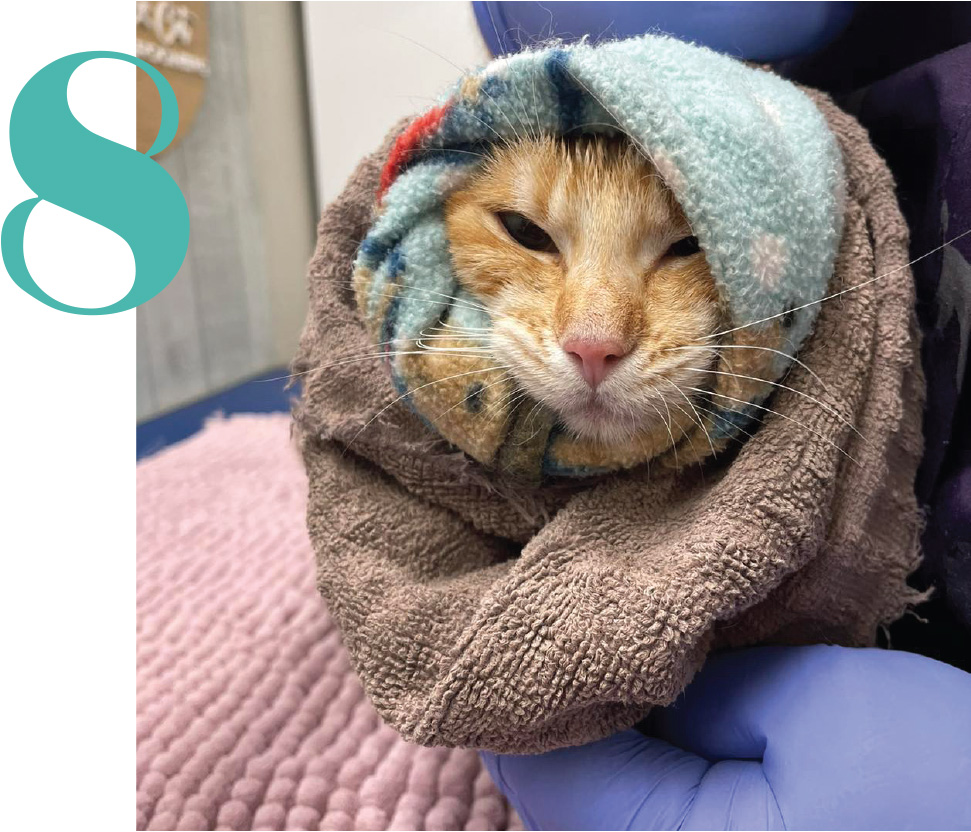
- Dry the cat with a towel. Then, use a Happy Hoodie and another large towel to wrap the cat for drying, making sure the towel is tight on the front paws.
- Using a dryer on the lowest setting with a flat condenser, go up as the cat allows. Start at the back of the cat, drying one section at a time. Don’t comb the cat until the section you are working on is 80% dry to prevent pulling of coat.
- Work your way up to the head. When at the head, take the condenser off the dryer and hold the cat’s ears down and dry with the hose close to the head, combing if possible while still drying.
- If the cat urinates or defecates during drying, you can rewash the area. If it happens more than once, the cat may be too stressed and may need to be left to dry naturally and given time to relax.
- Once dry, go over the cat with a fine comb, checking between the legs, armpits and “pants.”

It does get easier with the more cats that you dry and learn to handle. And by acquiring that skill, you set your own process and high standards of grooming that the cats in your care will ultimately benefit from.
Lexie Goldsmith, Qualified Veterinary Nurse and award-winning Certified Master Cat Groomer of over 15 years, teaches low-stress handling for the absolute best results in her courses worldwide on just how easy (and enjoyable!) cat grooming can be using the methods she has developed and perfected over the years. From “Bathing the Feline, Clipping the Feline,” and “First aid for the cat groomer” to feline-behaviorist-written “Behavior for the Cat Groomer,” her courses are available to start at any time, and are exclusively online at www.learncatgrooming.com.au